We already know that contact forms are one of the most convenient ways of getting in touch with your customers.
They are required on every website, whether it is eCommerce or some other type.
They look professional and are a great way to collect customer data; plus, adding a simple captcha button can provide excellent spam protection.
So, In this blog post, we discuss how you can create a contact form fast and easily using WordPress form builder, plugin, and HTML, so you can enjoy all the benefits that the contact forms offer.
Let’s dive in!
1. Create Contact Forms With Form Builder

Online form builders are the first choice for users who lack technical knowledge of HTML, CSS, and other programming languages or are too busy to create one from scratch on their own.
The process of creating contact forms with a form builder for your WordPress website is simple and takes less than five minutes in most cases.
Modern form builders have an easy user interface that allows intuitive navigation through the settings, letting you quickly create any form.
The form templates within the form builder’s library, i.e., the organized documents for data collection, are designed in advance. All that is left to the users is to customize the form according to their needs.
We will discuss the customization process and the possibilities that the form builders offer later in the post.
Now, we will start with the step-by-step guide of creating a contact form with the help of EmbedForms.
- First, create an account.
- Choose the Contact form template
- Click ‘Publish
That’s it.
If you publish the form, it will be ready to be embedded on your WordPress contact page right away.
Users can implement the form on the page by first copying the code and then by pasting the code on the website where they want the form to appear.
The form can be embedded feedback button or as a usual contact form on a separate contact page.
Here is an example of how your contact form will look like once embedded on your WordPress site.
If you choose the feedback buttons, the form can be embedded on the sidebar or in the page’s header, and once triggered by the users; it can appear as a popup, floater, or banner.
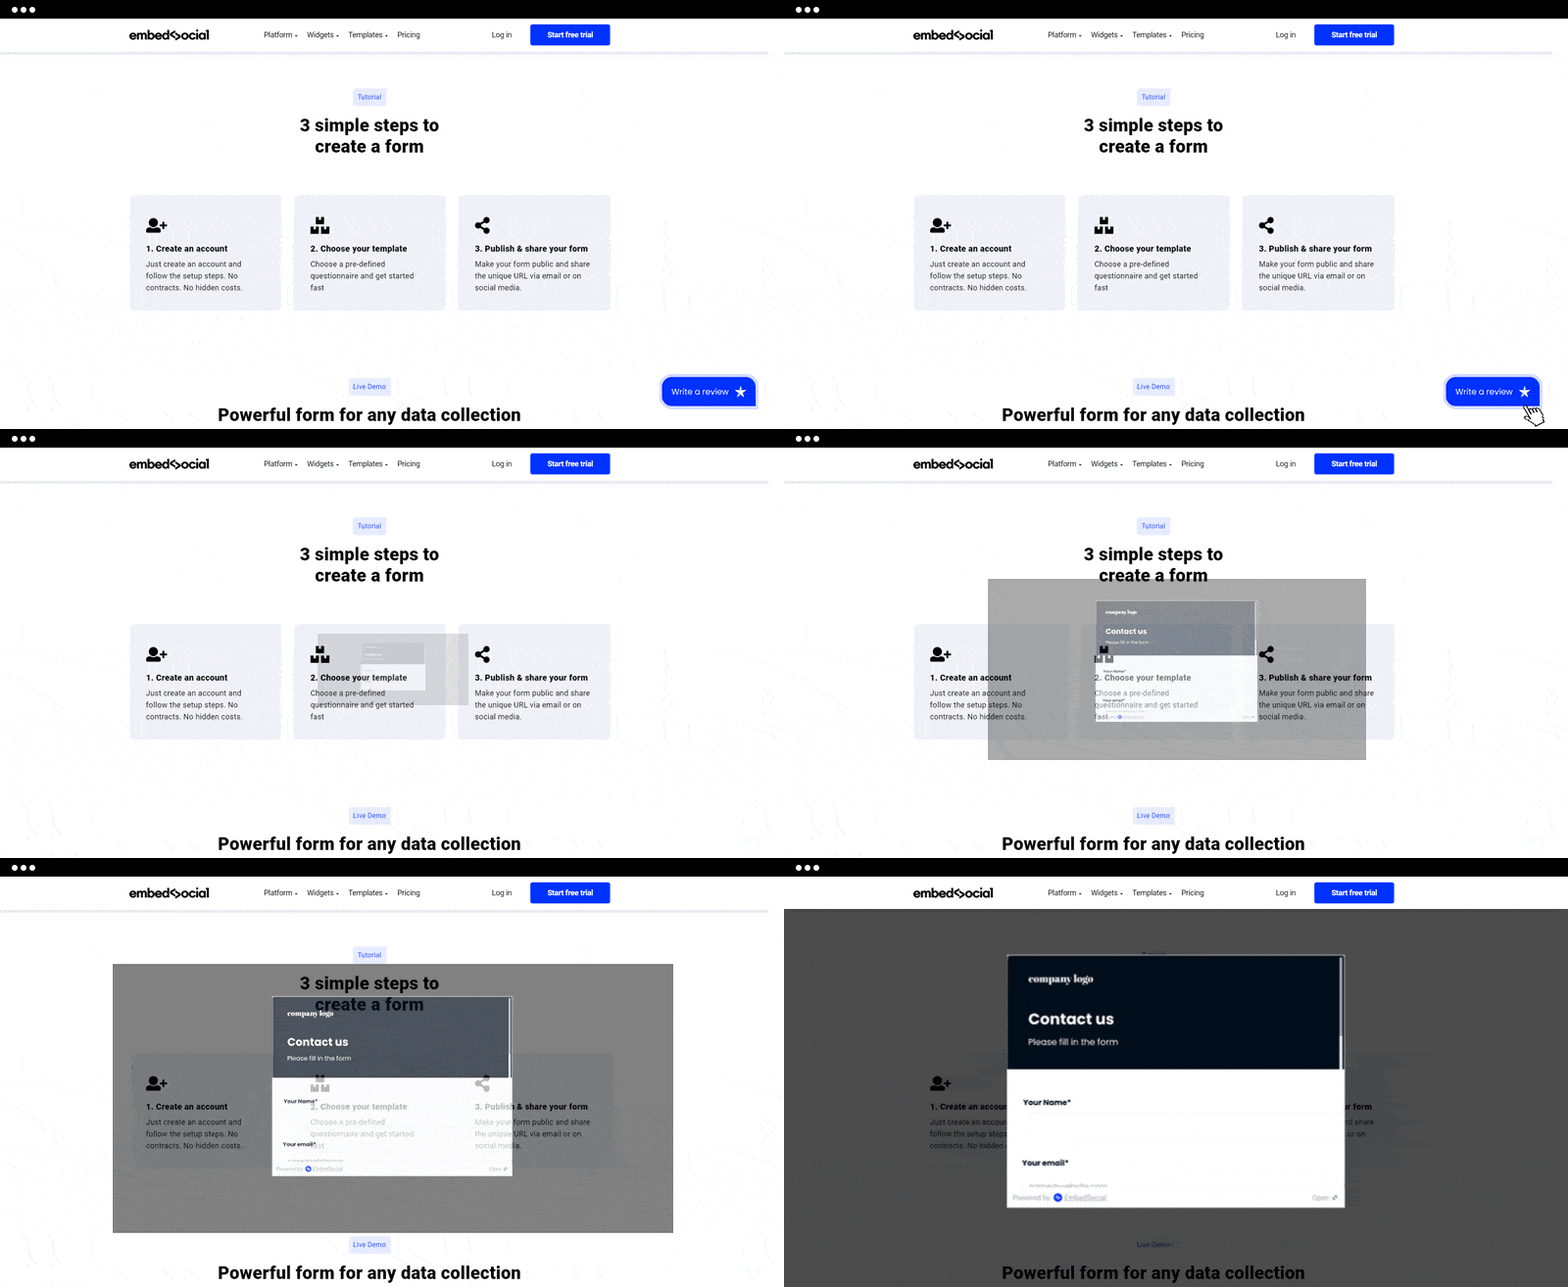
And that’s it. You are done!
Now let’s go back and talk about the customization options and what happens if you choose to edit the form.
Basic contact forms contain several critical fields for name, email, and message.
But at some point, you may want to add new form fields or change the design of the form.
Using an online form builder can help you with this too.
Just click on any question, and from the left menu, click on question settings.
The question settings menu will provide you with different fields starting from paragraphs, fields for email, radio buttons, dropdown menus, checkboxes, and many more field types, which might come in handy when creating other forms like order forms or registration forms.
Furthermore, you can customize the form to fit the design of your site by choosing one of the professionally designed themes, attach your photo to the contact form, or using the custom CSS option.
Plus options that you can use from form builders are:
- email notification
- redirect link
- thank you message after filling out the form
- add your copy for the submit button
- option for required fields
- organized overlook form where you can monitor all form submission
- Drag and drop interface to rearrange the questions
- Integration with multiple email marketing apps and payment systems like stripe
If you are still not sure how to start, you can check out our tutorial.
Why choose a form builder?
Form builders come with high functionality and powerful features, yet most of the time, they are beginner-friendly, and anyone can use them to create a form by clicking on the desired options.
The best thing is that there is no need for installing additional add-ons, which may affect the speed of your website.
Additionally, form builders can work with any page builder and CMS besides WordPress and some of the pro versions provide advanced functionalities such as Multi-page forms and even Paypal integrations.
2. Create Contact Forms With WordPress Plugin
Form builder plugins are another helping tool many users go to when they need a WordPress contact form.
There is a wide range of WordPress plugins that are popular on the market, and range from free plugins that enable simple forms embedded with shortcode to fully integrated plugins with WordPress.
And which one is the best WordPress plugin mostly depends on the preferences and needs of the users.
However, here are some of the most popular WordPress plugins you can find:
- WPForms Lite
- Formidable Forms
- Contact Form 7
- Gravity forms
- Caldera forms
- Ninja Forms
Note: To find and install plugins, you need to use wordpress.org.
We will talk about the possibilities of WordPress contact form plugins, but first, we will go through the steps of creating a simple contact form using add-ons.
1. First, go to your WordPress dashboard, click on ‘Plugins‘
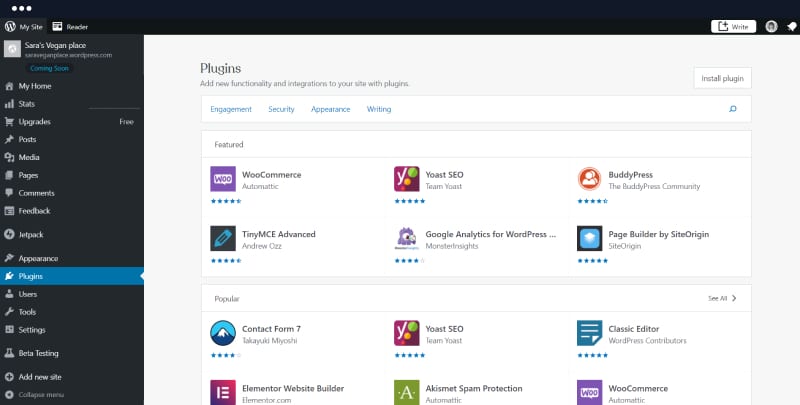
2. Search for your preferred plugin. It can be any of the mentioned above, or you can choose the one you like the most.
3. Click ‘Activate’
Once the plugin is added to your WordPress website, you can start creating your new contact form.
Usually, what you will see next is a drag-and-drop form builder from where you can choose the required fields and customize the form according to your needs.
Different WordPress plugins offer different functionalities; some are more basic, like file uploads, and some are more advanced, like conditional logic functions.
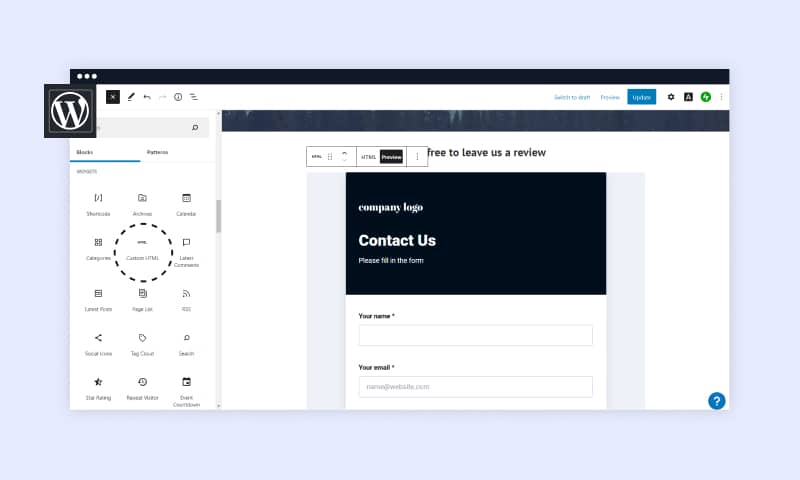
Next, to embed the form onto your website, you need to create a new page or edit an existing one.
- Then the first step is to click on add new block button and search for the plugin.
- Most form widgets will be automatically added to the page, from where you should choose the contact form.
- You can click on preview, check how the form will look on the front-end, and click publish.
If you decide to go with a plugin, here are some simple but important features to keep in mind:
- User-friendly interface
- Different WordPress themes
- Unlimited form submissions
- Easy customization
- Mobile-friendly forms
- Exporting options like CSV files.
Some of the best contact form plugins also have a free version if you want to try them out and see if the pricing suits you for the functionalities you receive.
Why choose a plugin?
Plugins offer great flexibility and allow you to create a contact form directly on your WordPress page.
With the help of plugins, you can change the styling of the form and use fonts, colors that will suit the design of your website.
3. Create HTML Contact Form
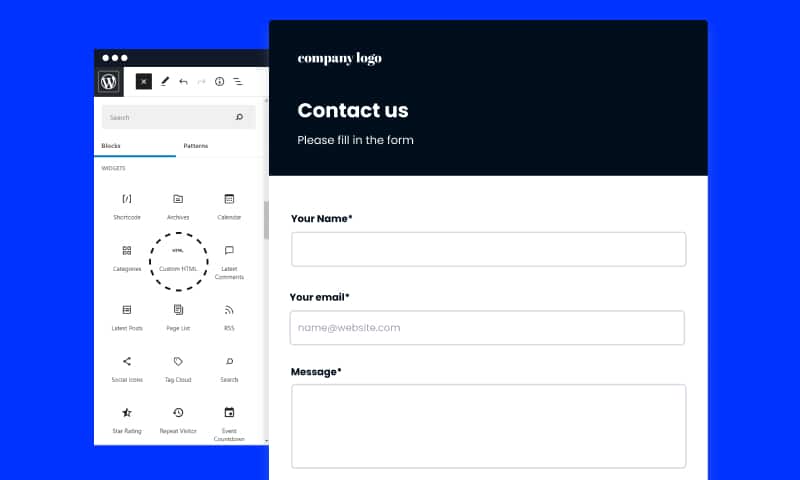
Using HTML, CSS, and other programming languages to create a contact form is probably the most advanced way of all mentioned in this blog post.
However, creating a contact form using markup language is a common approach that many website owners practice.
So, before you start typing the code, think about which input fields you would like the contact form to have, in addition to the most important ones like name, email address, message box, and submit button.
Next, open an HTML editor; it can be any editor beginning from Notepad to Brackets; just don’t forget to add HTML extension when you name the document.
Next, you can use the sample code below to create the simplest contact form for your webpage. Please change the action link with your domain and your email in order to receive the responses on your email.
<div class="container">
    <form target="_blank" action="https://yourdomain.com/name@email.com" method="POST">
        <div class="form-group">
            <div class="form-row">
                <div class="col">
                    <input type="text" name="name" class="form-control" placeholder="Full Name" required>
                </div>
                <div class="col">
                    <input type="email" name="email" class="form-control" placeholder="Email Address" required>
                </div>
            </div>
        </div>
        <div class="form-group">
            <textarea placeholder="Your Message" class="form-control" name="message" rows="10" required></textarea>
        </div>
        <button type="submit" class="btn btn-lg btn-dark btn-block">Submit Form</button>
    </form>
</div>
However, if you are looking for something stylish and presentable, which you are, you will need to use a bit more advanced programming languages like CSS and PHP.
But, if you are a beginner, you will need to spend a lot of time learning the languages first, which might not be the best decision if you want to add a contact form to your website as soon as possible.
Conclusion
Adding a contact form can be quick and easy, and depending on your skills, it can be designed in any of the ways mentioned above.
The most important thing is that a website must have a way for the customers to get in touch with you, which, in addition to enabling communication, instills a sense of trust and credibility in businesses.


